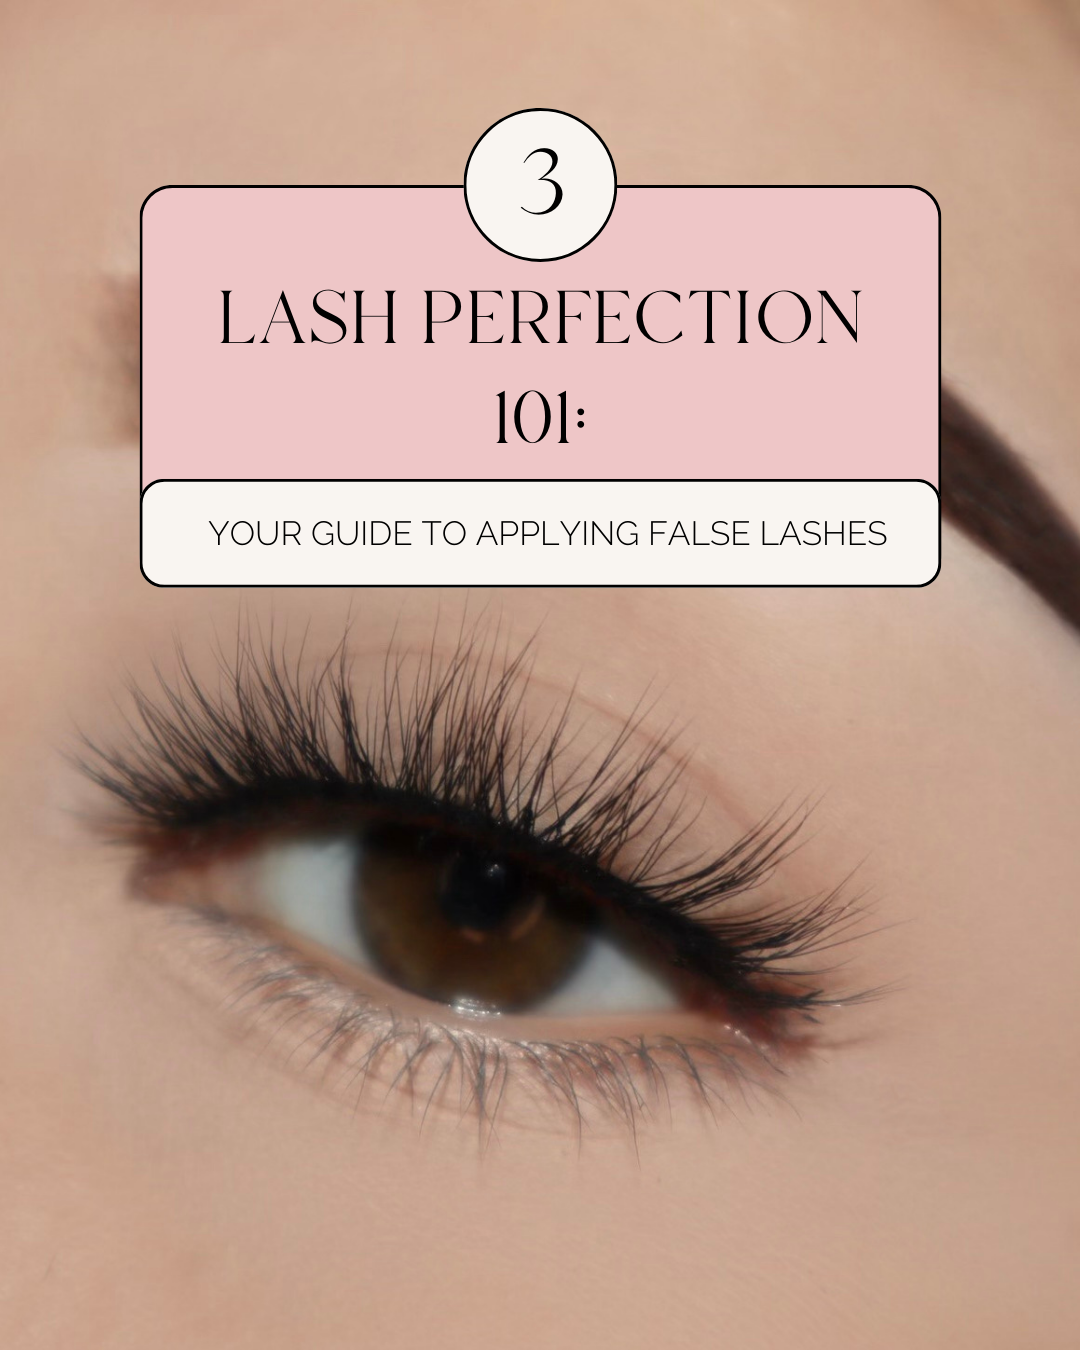
Lash Perfection 101: Your Comprehensive Guide to Applying False Lashes
·
·
Hey there, gorgeous! Having a bit of a lash struggle, huh? No worries at all, because your ride-or-die crew here at Sparkling Rose has your back!
If time isn't exactly on your side, slap on those fab falsies and voilà! Falsies are like your instant beauty hack, turning chaos into chic in no time.
Yep, we know it might seem like a whole process, but trust us, we're here to hold your hand through the adventure. Ready for the magic?
Here's your personal guide to rocking your falsies with flair in 6 simple steps.
1. Prep Like a Pro

First things first – gather your lash essentials.
A dash of lash glue (we recommend the Duo brand), some GOOD brow scissors, your trusty tweezers, and of course, your fave set of lashes.
2. Trim to Perfection

It's all about the fit, babe. Measure those lash strips against your lid and give them a snip - if needed. Keep the trimming to the outer corners so you can preserve the lash's inner charm.
Pro tip: Save those trimmed bits – they're your secret weapon for added oomph or that extra pop💥 to your natural outer lashes.
3. Glue Game on Point

Time to bond – lash glue style. Coat that band with precision, but don't go all-out Picasso with the glue. Less is more!
Give that glue about 15-30 seconds to get a tad sticky. Trust us, this sweet spot is where the magic happens.
Pro tip: A Q-Tip's your secret weapon🤫 for a clean, fuss-free application. We recommend using a lash glue with a brush applicator.
4. Lash Up, Babe

The moment of truth🫨! Hold up a mirror, peek downward (seriously, no blinking). Use those tweezers like a pro – secure the center of the lash first, then finesse the inner and outer edges.
Think of it as a delicate dance with your lashes.
5. Curl, Curl, Curl

Boom, you did it!
Time to fuse those fab falsies with your natural lash line. A gentle curl with your fave lash curler, and if you're feeling extra, a slick line of eyeliner along the lash band.
A bit of dazzle✨ never hurt nobody.
6. Lash Love Affair

Pause, take it all in, and let the mirror be your canvas. Your lashes? A masterpiece. From zero to whoa, you just leveled up your glam game. And guess what? Once you embrace the lash life, there's no turning back!
Now, the ultimate mic drop moment: before and after lashes.
Yep, it's real – you're a fierce force to be reckoned with! 💥👀💃